Plastic pollution and our sea birds
At the end of last term I asked the children for their ideas for the workshops new Spring term – I have always let their feedback steer the ideas for this block. The many requests included painting, modelling and something sea themed. One of the things we discussed during the Winter workshops was the Blue Planet 2 series which was being aired on TV at the time. So this got me thinking and I tried pulling all this together to form some kind of cohesive workshop idea. I then stumbled across the work of Barbara Kobylinska – the result of a journey of many tangents on Pinterest!! Her stunning large scale ceramic pieces seemed to tick a lot of boxes. But I needed to figure out an accessible way for the children to make something with a similar essence. I came across a variety of ways of making something similar – one which included using wine bottles – not particularity appropriate for children workshops….! But that got me thinking about plastics….
What if we could make something beautiful out of plastic rubbish, whilst sensitively raising awareness of the environmental problems we face with our oceans, coastlines and countryside due to human use and disposal of plastics, particularly single use plastics. So, for the Spring workshop we will be making wonderfully creative and beautiful birds out of the horrible plastics that are causing so much environmental devastation.
To set the scene we watched a clip from the Blue Planet 2 series which highlights the problems that plastic rubbish is causing to sea birds. We talked about how we use plastics, and ways we can change how we use them in day-to-day life. We then looked at pictures of a variety of sea birds, paying particular attention to their long beaks for catching fish and in some cases their long necks and their colourful beaks and plumage. We then studied a number of Barbara Kobylinska’s large scale fantastical bird sculptures.
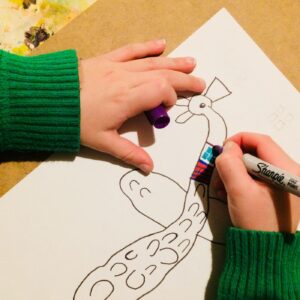
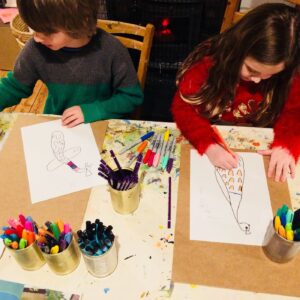
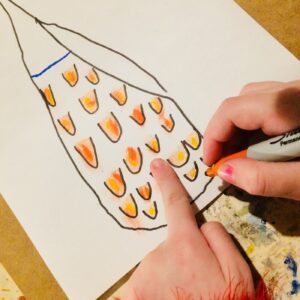
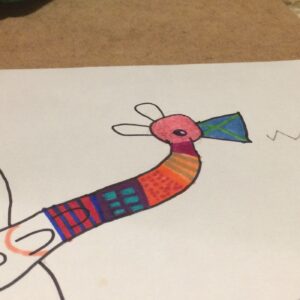
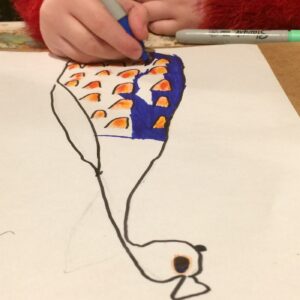
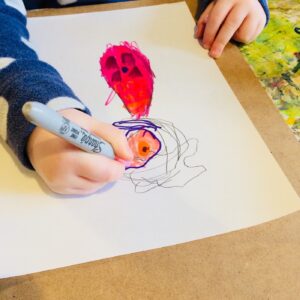
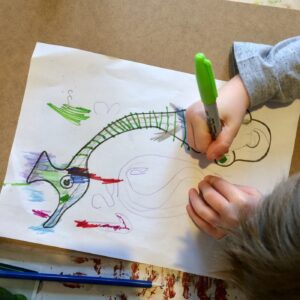
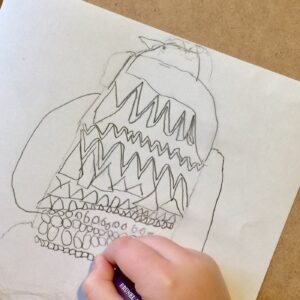
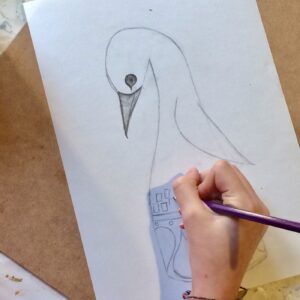
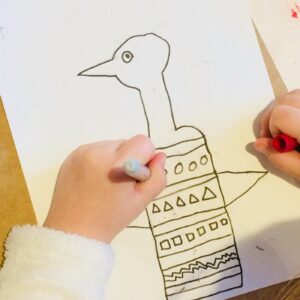
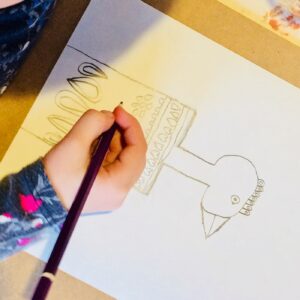
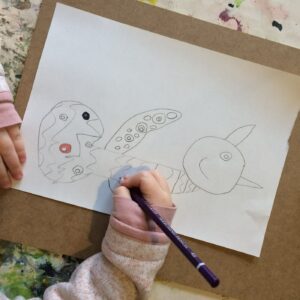
Week 1 saw the children go on to design their sculptures – they were encouraged to use exaggerated and elongated bodies and the use bold colour and patterns. An exciting start to the workshop….
Week 2 The model making begins…! First off everyone chose a bottle – different shapes and sizes depending on the design of their bird. Each bird was given a proper ‘meal’ before we started to make them…! Seeds, grains and rice to fill their tummies, rather than the horrible plastics our sea birds have been eating… these give the birds weight to give them a good solid support, as well as making a lovely sound when shaken!
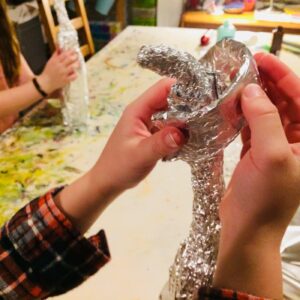
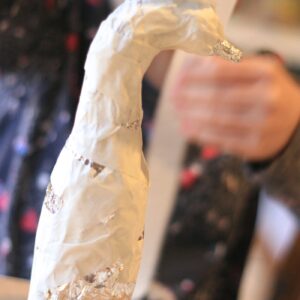
We then used aluminum foil to cover the bottle and to start sculpting the shape of the birds. The young creatives loved doing this… the foil is a very malleable material and is easy for little hands to work with.
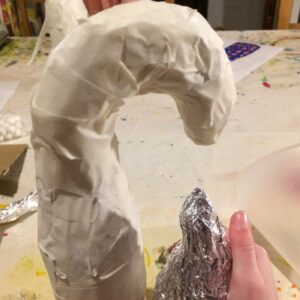
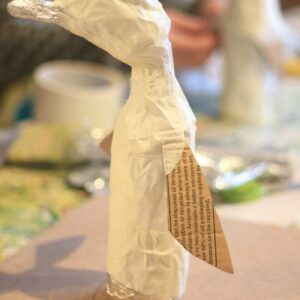
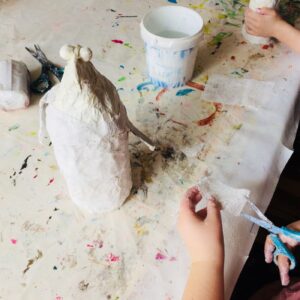
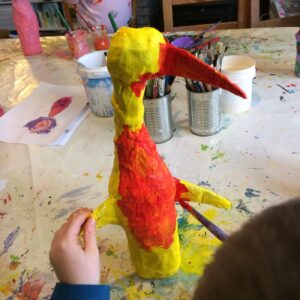
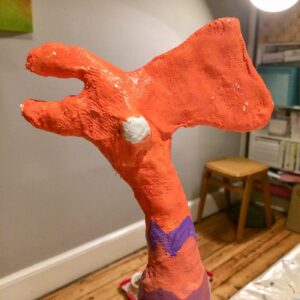
Once they were happy with the shape of their bird – they were all encouraged to pay close attention to the shapes and features of their designs – the birds were covered in masking tape to make everything secure and a more solid shape. Extra features, such as wings, beaks and crests, were then added with cardboard and tape… amazingly quick and effective results.
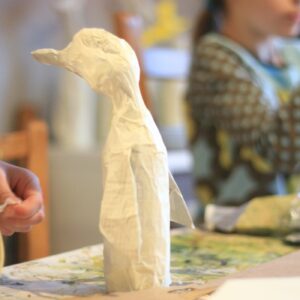
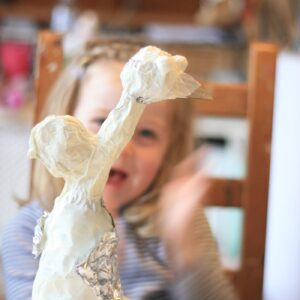
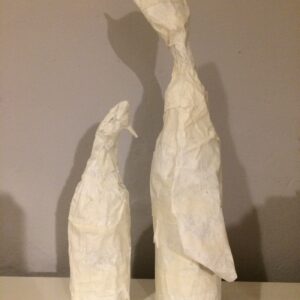
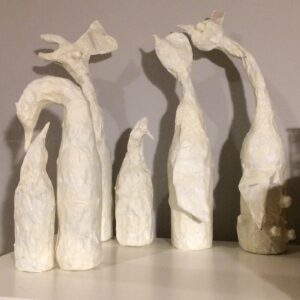
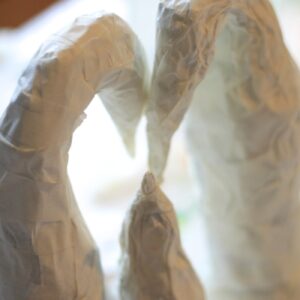
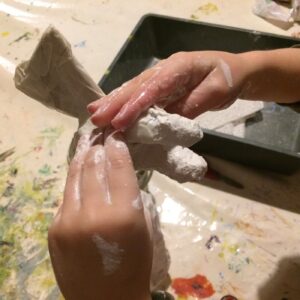
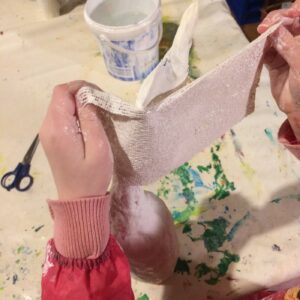
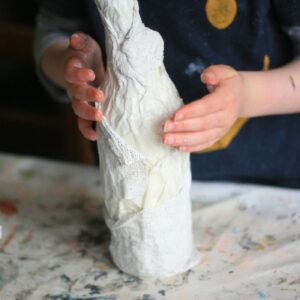
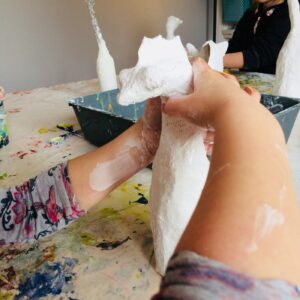
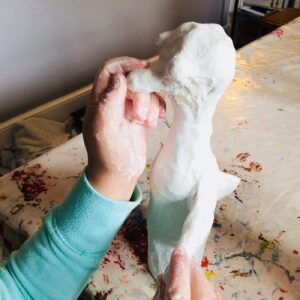
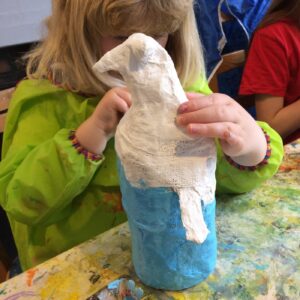
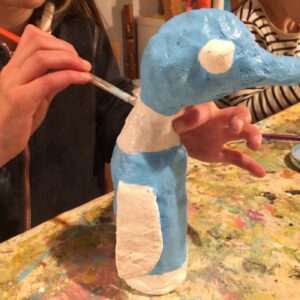
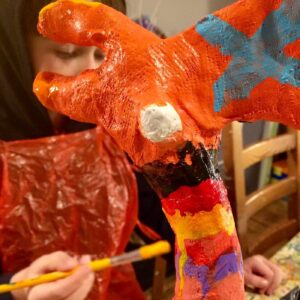
Week 3 And it’s all about mod-roc! Basically using Plaster of Paris bandage – we wrapped our little birds up with this fantastic material. This not only gives them extra strength as the plaster is really quite hard when it is dry, but it also gave the young creatives chance to refine the shape of the their birds. The children loved this stage – great fun and lots of concentration!
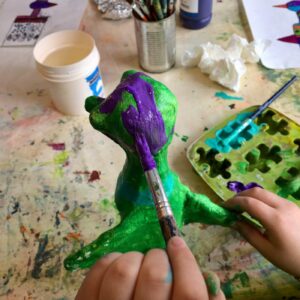
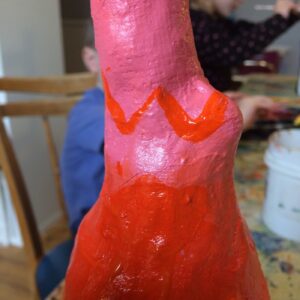
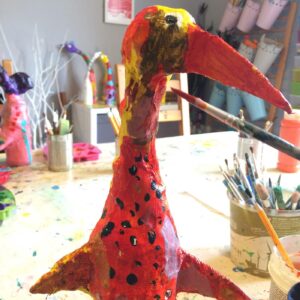
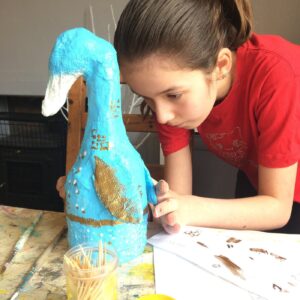
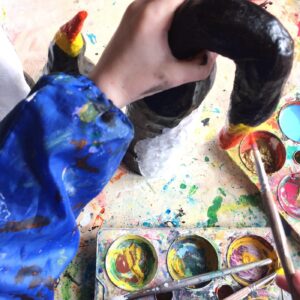
Week 4 And the painting commences. The young creatives revisited their original designs, to look at the colours and patterns they made. Starting off with a base coat they quickly got into painting. They were all encouraged to carefully paint the birds, making sure that all bits were covered. Some details were added, such as stripes, but we will wait until week 5 to add the more intricate details.
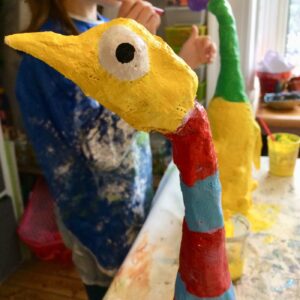
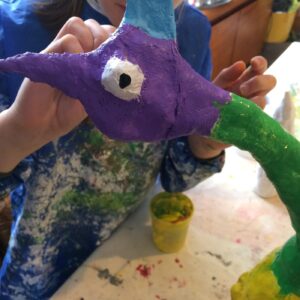
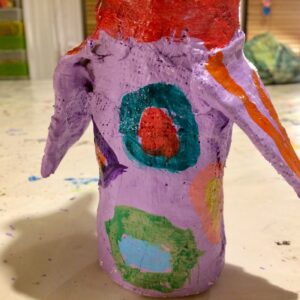
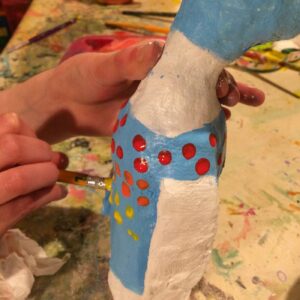
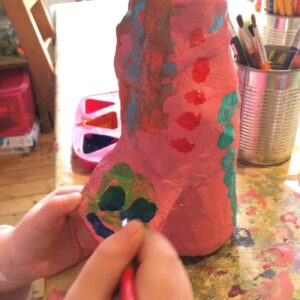
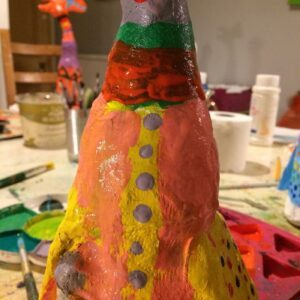
Week 5 the final 2 weeks of the workshop were spent refining their painting, making sure that the paint was well applied, using 2 coats if necessary and then carefully adding in patterns, such as stripes, spots, triangles and zig-zags.
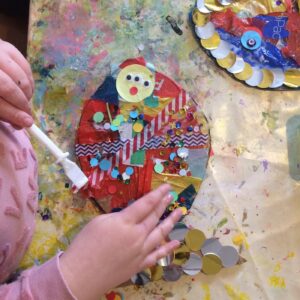
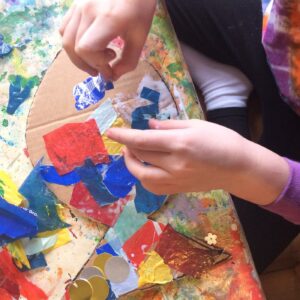
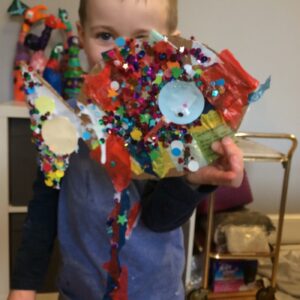
Week 6 For those who finished their birds quickly, they had an extra little activity for the final week – making decorated plastic fish. We used cut-up old plastics bags, using the most colourful pieces we could find and sticking them on to a cardboard cut-out. Once the first layer of plastic had been stuck down, the children embellished their fish with ribbon, washi tape, paper shapes and sequins. This was a really quick, fun activity.
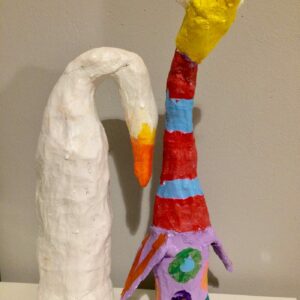
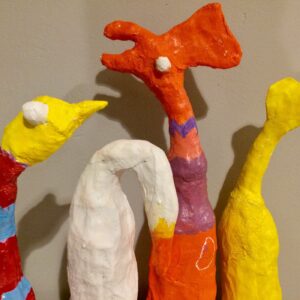
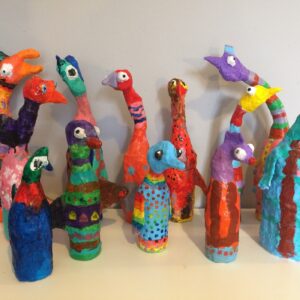
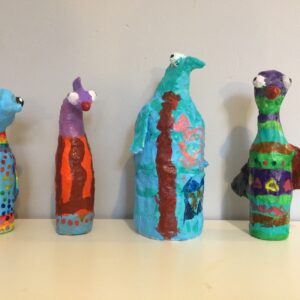
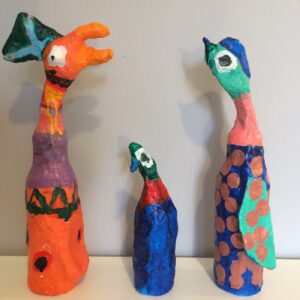
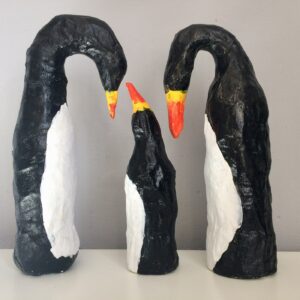
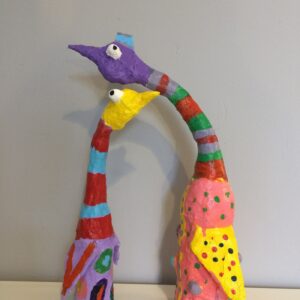
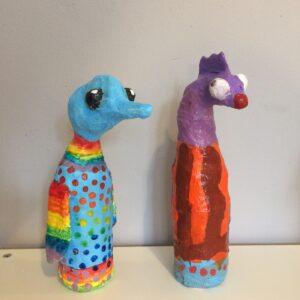
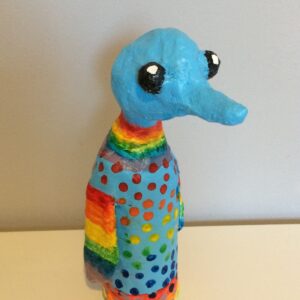
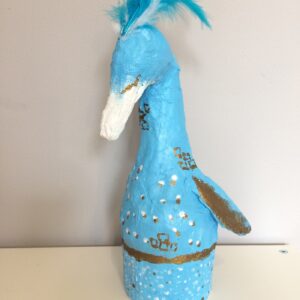
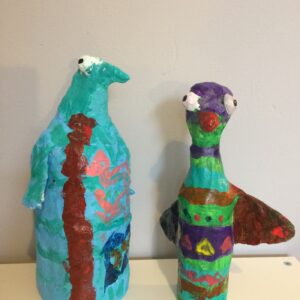
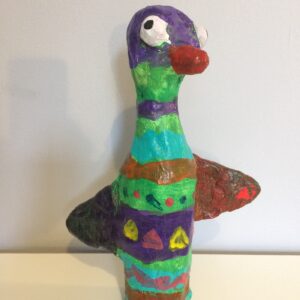
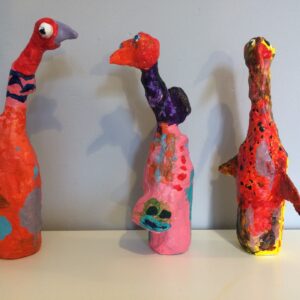
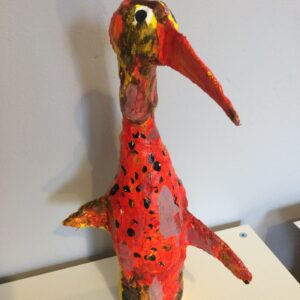
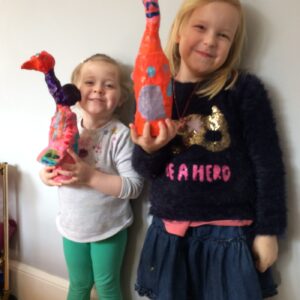
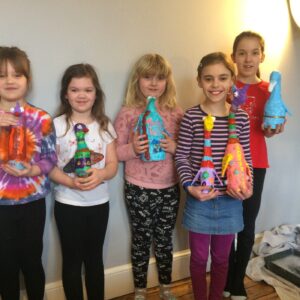
And as you can see from the photographs, the finished birds are simply stunning. The colours, patterns and shapes are amazing and it’s really hard to believe that these beautiful birds were originally plastic disposable bottles destined for recycling – or worse our landfills or worse still, littering our countryside, beaches and seas. The young creatives did an amazing job making unique birds which they are very proud of. And it was a fantastic project to see their 2D designs transformed into 3D sculptures. And during all this fun, they certainly have a raised awareness about our problem with plastics. . .
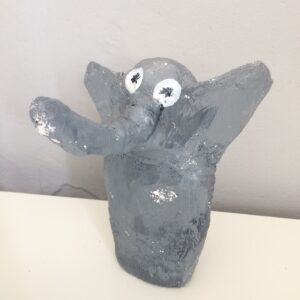
I have to add a final note about my youngest daughter’s contribution – determined and as strong-willed as ever, she did her own thing and made an elephant! With absolutely no help from me whatsoever, and I think the results are adorable!! And utterly brilliant that she chose her own way of doing things and followed her own creative instincts.
